Let us first describe the problem. We have the image of a manuscript. We want to transform it into a djvu with text behind the image.
The problem is presented on DjVu.org. It is formulated there in a general form: the task is to embed text and tips (annotations). The solution uses commercial tools. I want to present here a solution with open-source tools. Everything here is GPL compatible.
What are the resources used in the solution? First, you need djvulibre and you must know how to create a djvu e-book. Second, you need the Box Editor and Python with PyGtk and other necessary modules. The Box Editor is a program written by Cătălin Frâncu and modified for use with djvu tools. You may also need programs such as Gimp or ImageMagick for the creation and manipulation of images. Everything else (scripts and examples) you may download as an archive.
Platform? This solution should work on Windows and GNU/Linux. Of course, you must pay attention that I have worked under GNU/Linux and you might have to convert to dos format the files with the scripts. I suppose that the solution should work under Mac, as long as you have installed djvulibre and Python with the necessary modules.
I will describe the procedure step by step.
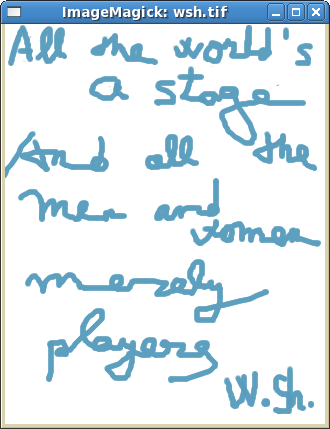
In the image that I use as an example there is a famous quotation from William Shakespeare. In order to insert text behind this image, what we really need is to get the coordinates of the areas in which are placed the words. For this, we have to “chop” the image into boxes.
I tried to use an OCR program, but the result is poor and unsystematic. So, I wrote a Python script which creates a file with the coordinates of boxes which form an imaginary grid over the image.
The image in my example is named wsh.tif (from “William Shakespeare”). It must be converted to the tiff format. In a terminal, the command for the generation of the grid is:
./gridMaker.py wsh.tif
This generates a file named wsh.grid. Make a copy and call it wsh.box. I suppose that the gridMaker is in the same folder with the tiff file. In the context of the MS-DOS Prompt, you have to adapt the command. Of course, you need Python in order to execute the gridMaker script.
In the next step you must open the tiff file with the Box Editor. The box file must be in the same folder with the tiff file.
In my example, I opened the wsh.tif file with the Box Editor. You may see in the screenshot, the first stage of the adjustment process. The current box delineates an area of the image.
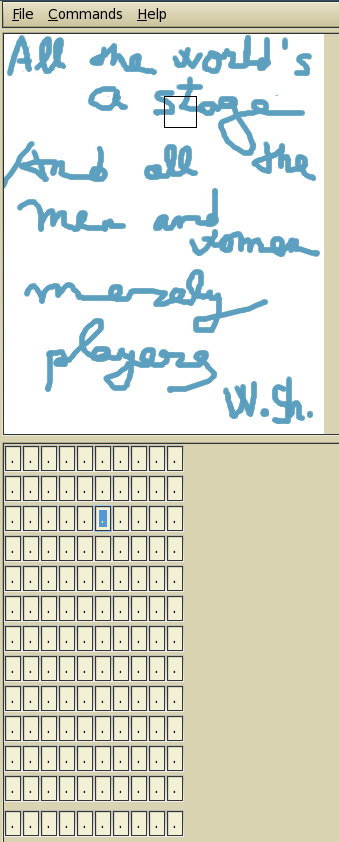
With the Tesseract Box Editor you can perform two actions:(1) increase and decrease a box until it surrounds an area; (2) delete the unused boxes.
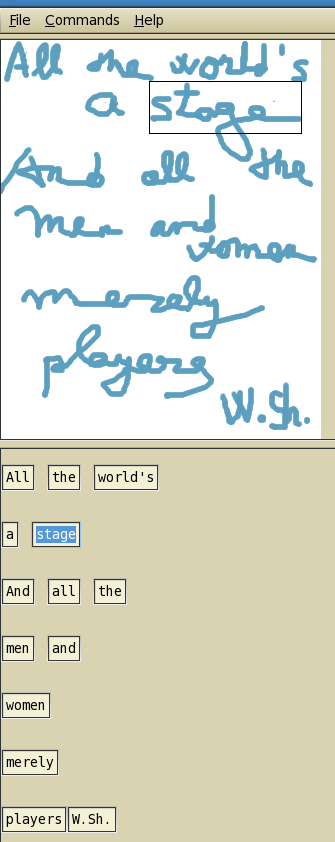
Optionaly, you may insert text (in the text area of the Box Editor). This text is like a tag of the box.
The result is shown in the figure with the adjusted boxes.
In the next step you write a text file with commands for djvused. Basically, in our example, the script indicates the coordinates of the words on the page. I write this script with vim and I use a vim menu. Otherwise, it would be tedious to write repeatedly the standard parts of the file.
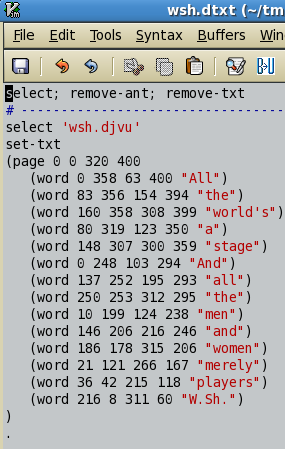
The syntax of this file is more or less obvious. The line which begins with “select” indicates the name of the djvu file. In a bundle of djvu files you have to know the name of each file or the page. I prefer to indicate the name of the corresponding single-page djvu.
The core of this script is formed by the sequences of round braces. Pay attention to the fact that the opened brace before “page” is closed only after the indication of the coordinates of the last word on the page.
The real difficult thing is to get the coordinates. Here the Tesseract Box Editor plays an invaluable role. You copy the coordinates in the Box Editor and paste them in the text editor. Use Ctrl+C for copying the djvu coordinates.
In the final part of the process, first you have to create the djvu file. The djvu encoder cjb2 accepts only bitonal tiff files, which is not the case in our example. On the other hand, the other encoder in the djvulibre set does not work with tiff files. Thus I had to convert first to an intermediary format:
convert wsh.tif wsh.ppm
c44 wsh.ppm
rm wsh.ppm
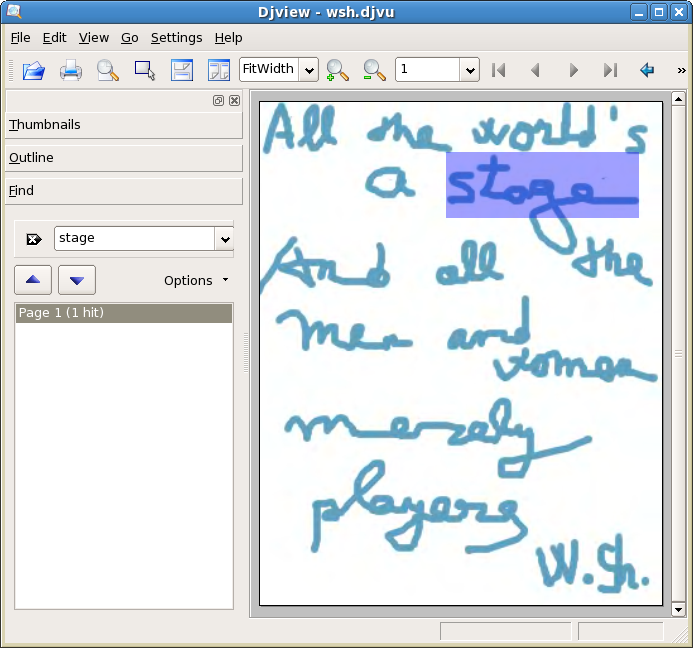
Now, I got a wsh.djvu into which I insert text with the command:
djvused wsh.djvu -f wsh.dtxt -s
If you get any errors try to understand what has to be corrected in the text file.
The last step is to view the djvu in the DjVu viewer.